There are two types of cord cutting:
- Subscriptions to Individual Streaming Services
- Live TV Subscriptions
Live TV being a replacement for cable TV in functionality. I have traditional family members who are only slowly learning they don’t need appointment TV all the time. But they still want it. So, how do we solve this problem?
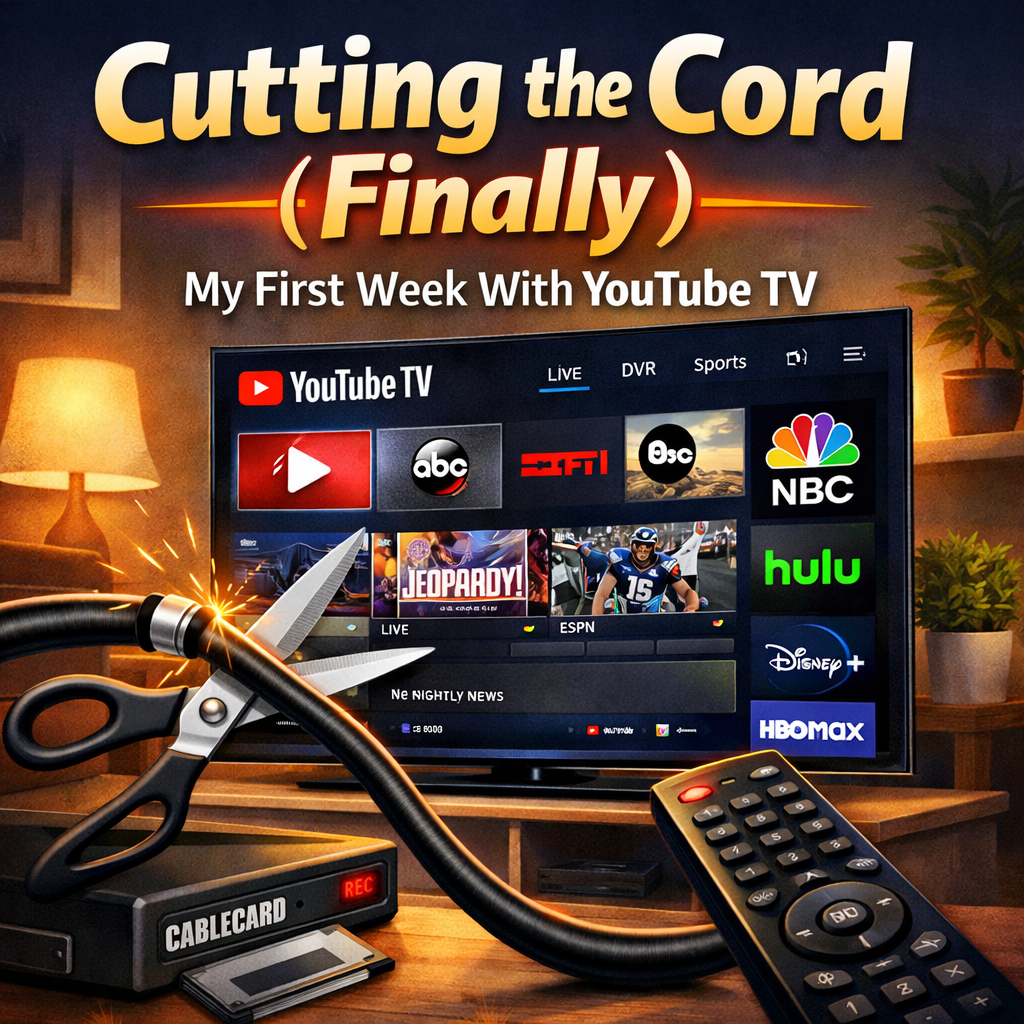
I decided to try a trial period of YouTube TV. Most people seem to consider it the gold standard for internet based Live TV. Some of the other providers are less expensive and may better suit you, but even the most expensive YouTube TV plan may be less than you are paying your cable provider noawadays.
Make a List of What Content You Want
What actually is important to you? What channels do you want? Do you watch sports? News? Etc. For exclusive streamers, which ones have the content you want? Is there anything you want to watch live? Or is live just about serendipity…as it helps you choose random things to watch?
YouTube TV: The Features
- Six individual family accounts
- Unlimited DVR Space, shows expire in a few months.
- Three simultaneous things can be watched at once
- Their 4K Plus add on adds unlimited streams, offline downloads, and some 4K content. 4K content is only available for playback on some devices.
- Add Ons of various streaming services
YouTube TV: A Simple Review
I wasn’t sure what to expect.
- Faster Release – The first advantage of having a DVR is that the program is available live, and immediately thereafter. No waiting till the next day after airing to watch it. If earlier is something you want.
- Live TV Anywhere – You can watch this on the go, or on vacation.
- Customization – There are no channel numbers, so you can rearrange the guide and hide the channels you don’t want. You can avoid the guide entirely and approach it from a show or movie point of view.
- Intuitive Interface – The interface is familiar to anyone who has used YouTube or similar services. Even my technologically challenged relatives can handle it.
What YouTube TV Replaces From a Traditional DVR
-
Cable DVR hardware
-
CableCARD setup
-
Recording limits
-
Watching TV outside the house
Is YouTube TV Worth It?
If you are looking for a cable replacement with DVR functionality, YouTube TV is one of the best options currently available.
What YouTube TV does particularly well:
• Unlimited DVR storage
• Multiple family accounts
• Live TV anywhere
• Easy interface even for non-technical users
The biggest drawback is price. At $82.99 per month, YouTube TV is no longer dramatically cheaper than cable for some households.
However, if your current cable package includes:
-
equipment rental fees
-
DVR fees
-
regional sports fees
-
broadcast surcharges
YouTube TV may still end up being less expensive overall.
For many households, the real benefit is simplicity — no hardware, no installations, and access to your recordings from anywhere.
YouTube TV vs Cable TV
For many households the real comparison is not between streaming services, but between YouTube TV and traditional cable TV.
| Feature | YouTube TV | Traditional Cable |
|---|---|---|
| DVR | Unlimited cloud DVR | Limited storage DVR, often at additional service cost |
| Equipment | No dedicated hardware required | Cable box + DVR rental |
| Watching Away From Home | Works anywhere with internet | Usually limited to home network, some limited mobile options |
| Setup | Sign up online | Technician or equipment installation |
| Price | ~$82.99/month | Often $90–$150 with fees |
The biggest difference is flexibility.
With cable, recordings are tied to your DVR hardware. With YouTube TV, recordings are stored in the cloud and accessible from any device.
For households that travel frequently or want to watch on phones, tablets, and laptops, this can be a major advantage.
Conclusion: YouTube TV Is Compelling, Even with Budget Alternatives
The one possible stumbling block with YouTube TV is the base price of $82.99. It is at the higher end of the cable replacement services, but that is still again, less than many cable plans. But YouTube TV in February announced that they would introduce new less expensive plans that focus on different preferences, should you need fewer channels. After my promotional discount is over, I may look to pare down the selection. But for now, it may be time to call my cable provider and see how much cancelling TV through them will save me.
Because while bundle discounts may mean my internet through them will go up, it should hopefully be a net win.