
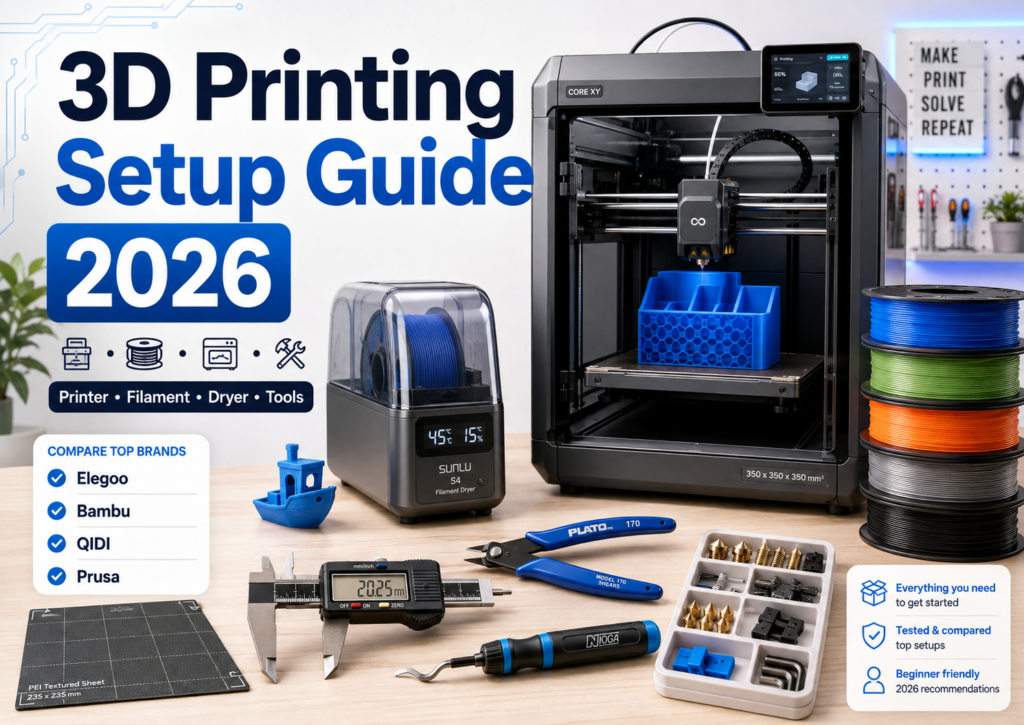
Buying a 3D printer is the obvious part of getting into 3D printing. It is also only the beginning.
Once you start printing regularly, you end up needing filament, somewhere to keep it dry, a few tools, cleaning supplies, replacement nozzles and eventually a collection of parts that seemed completely unnecessary when you first opened the printer box.
I have gone through this process myself. My current workhorse is an Elegoo Centauri Carbon, my first CoreXY printer. I have generally liked the printer, although my experience installing the CANVAS upgrade and replacing a damaged cable has also made me pay much more attention to replacement parts and long-term support than I did when I bought it.
If you are buying your first printer in 2026, here is what I would buy immediately, what I would consider useful, and what I would leave on the shelf until you actually need it.
Quick Answer: What Do You Need for 3D Printing?
For a basic FDM 3D-printing setup, you need:
- A 3D printer
- Filament
- Slicer software
- A solid place to put the printer
- Flush cutters or small side cutters
- A way to clean the build plate
- A few basic hand tools
I would also strongly consider:
- A filament dryer
- Dry filament storage
- Digital calipers
- A deburring tool
- An extra build plate
- A spare nozzle or hotend
- Some commonly replaced parts for your specific printer
You do not need to buy ten colors of filament, six nozzle sizes, a giant tool kit and every upgrade available before printing your first Benchy. Buy colors as you need them, or maybe when there is a good sale.
1. Start With the Right 3D Printer
Desktop FDM printers have improved dramatically. Automatic bed leveling, CoreXY motion systems, enclosed chambers, cameras and high-speed printing have moved down into much less expensive machines.
For most people buying a printer now, I would seriously consider an enclosed CoreXY machine. An enclosure gives you more flexibility with materials, contains some of the mechanical parts and makes the machine feel more like an appliance than the open-frame printers many of us started with.
There are still good reasons to buy an open printer, particularly if price is the priority and you expect to print almost entirely PLA and PETG. But the price gap has become surprisingly small.
Some Current 3D Printers I Would Compare in 2026
| Printer | Why I Would Consider It | Main Tradeoff |
|---|---|---|
| Elegoo Centauri Carbon 2 Combo | Very aggressive price for an enclosed CoreXY printer with four-color CANVAS printing | Elegoo’s rapid product cycle and my own support experience make long-term OEM parts support something I would consider |
| Bambu Lab P2S | Polished ecosystem, enclosed design and an established multi-filament system | Costs considerably more than the Elegoo |
| QIDI Q2 | Heated enclosed chamber, high-temperature hotend and a strong focus on more demanding materials | Smaller ecosystem than Bambu |
| Prusa CORE One+ | Strong emphasis on repairability, upgrades and long-term ownership | Much more expensive |
Elegoo Centauri Carbon 2 Combo: The Value Choice
The Elegoo Centauri Carbon 2 Combo is one of the more interesting values in the market right now.
It has a 256 × 256 × 256 mm build volume, enclosed chamber, CoreXY motion system, automatic calibration and a hardened 350°C nozzle. The Combo includes Elegoo’s CANVAS system for four-color printing.
Elegoo has recently been selling the Combo for roughly $379 to $399 depending on the promotion, which is an aggressive price for this much printer.
I own the original Centauri Carbon rather than the Carbon 2. Mine has generally been a good workhorse. I also had a frustrating experience when a damaged cable needed replacement, and previously wrote about Elegoo’s delayed CANVAS upgrade for the original Centauri Carbon.
That would not stop me from considering the newer model. It would make me think about parts availability and support alongside the feature list. To be fair, everything eventually goes out of support.
Check the Elegoo Centauri Carbon 2 Combo on Amazon
Bambu Lab P2S: The Easy Ecosystem Choice
The Bambu Lab P2S is the current successor to the P1S line and is worth comparing if you want a mature ecosystem and multi-filament printing without doing much tinkering.
The standalone printer currently starts around $549, while the P2S Combo with the AMS 2 Pro multi-filament system costs more.
I have not personally used a P2S, so I am not going to pretend this is a hands-on recommendation. On features and ecosystem, however, it belongs on a current buying list.
The Amazon listing below is for the P2S Combo with AMS 2 Pro, rather than the standalone printer.
Check the Bambu Lab P2S Combo on Amazon
QIDI Q2: Worth a Look for More Demanding Materials
The QIDI Q2 is particularly interesting if you expect to move beyond PLA and PETG.
It has a 270 × 270 × 256 mm build volume, a nozzle rated to 370°C, active chamber heating up to 65°C and a three-stage filtration system. It is also compatible with QIDI’s multi-color QIDI Box.
That combination makes it a particularly interesting choice for people who expect to experiment with more demanding materials rather than treating the enclosure mostly as a convenience.
The Amazon listing below is for the QIDI Q2 Combo, which includes the multi-color system.
Check the QIDI Q2 Combo on Amazon
Prusa CORE One+: Expensive, but Built Around Long-Term Ownership
The Prusa CORE One+ costs much more. The kit currently starts around $999, while the assembled printer is around $1,299.
Why include it?
Because Prusa takes a noticeably different approach to ownership. Parts, modifications and upgrade paths are a large part of the ecosystem. The CORE One+ is also designed to support Prusa’s INDX multi-material system.
After dealing with a damaged cable on my own printer and wondering about support for a model that was replaced unusually quickly, I understand the value of that approach better than I used to.
The cheapest printer on purchase day is not necessarily the cheapest machine to own for five years.
2. Buy Filament—but Don’t Build a Filament Warehouse Yet
Your printer is useless without filament, but this is an easy place to overspend.
I would start with two or three rolls:
- PLA for most everyday printing
- A second color of PLA
- PETG if you want to experiment with stronger functional parts
Then add other materials when you have an actual reason to use them.
| Material | Good For | Beginner? |
|---|---|---|
| PLA | Models, household items, organizers, prototypes and ordinary prints | Yes |
| PETG | Functional parts, brackets and items that need more toughness or heat resistance | Yes |
| TPU | Flexible feet, bumpers, cases and soft parts | After you learn the printer |
| ASA | Outdoor and higher-temperature applications | Requires an enclosure and appropriate ventilation |
| Nylon | Strong technical parts | More demanding, particularly about moisture |
| Carbon/glass-filled filament | Specialized functional parts | Requires the right printer setup and a hardened nozzle |
PLA remains one of the easiest materials to print. PETG is also quite forgiving and is useful for functional parts. Materials such as ASA, nylon and composites introduce additional requirements.
What Filament Would I Buy First?
You do not need to match the brand of filament to the brand of your printer. For a first order, I would keep things simple rather than trying to identify the world’s greatest spool of PLA.
OVERTURE is one established option. If you already know you want a selection of colors, its Matte PLA bundle is an easy way to stock several at once.
I would not buy six kilograms of PLA merely because it comes in a bundle, however. The advice above still applies: starting with two or three rolls is enough for most people.
Check the OVERTURE Matte PLA bundle on Amazon
For functional parts, PETG is a useful second material. OVERTURE’s High-Speed PETG is intended for modern faster printers and is available in several quantities and colors.
Sponsored: OVERTURE is offering me an additional commission through Amazon Creator Connections on qualifying purchases made through the PETG link below.
Check OVERTURE High-Speed PETG on Amazon
3. A Filament Dryer Becomes More Useful Than You Expect
You can start printing PLA without immediately buying a filament dryer.
But filament absorbs moisture from the air, and some materials are far more sensitive to it than others. Wet filament can contribute to popping, stringing, rough surfaces and inconsistent extrusion.
How much this affects you depends partly on the filament and partly on where you live and store it.
If your printing area is humid, or you want to use PETG, TPU, nylon and other moisture-sensitive materials regularly, I would move a filament dryer fairly high on the accessory list.
For One Spool: SUNLU S2
The SUNLU S2 is the kind of dryer I would consider for a simple one-printer setup. It holds one standard spool, heats to as much as 70°C and can dry filament while it feeds to the printer.
For Several Spools: SUNLU S4 Pro
If you have a multi-color setup, several printers or regularly keep multiple materials loaded, a larger dryer becomes much more interesting.
The SUNLU S4 Pro is more than simply a larger S2. It has two independently controlled drying chambers, holds four standard spools, reaches temperatures up to 85°C and includes an annealing mode aimed at engineering filaments.
That makes it considerably more capable than you need for a printer that spends its life working through one roll of PLA at a time.
I would not buy the S4 Pro just because it looks impressive. It takes up substantially more space and costs considerably more than a single-spool dryer. Buy it if you actually expect to use the capacity or its higher-temperature features.
Sponsored: SUNLU is offering me an additional commission through Amazon Creator Connections on qualifying purchases of the S4 Pro made through the link below.
Check the SUNLU S4 Pro on Amazon
4. Dry Storage Is Cheaper Than Re-Drying Everything
A filament dryer removes moisture. A dry box or sealed storage container helps prevent the filament from absorbing it again.
You do not need expensive purpose-built cabinets for ordinary PLA storage.
Airtight plastic containers or heavy reusable filament bags with desiccant can work well. Add inexpensive humidity indicators if you want to know whether your storage is actually staying dry.
I would rather spend money on decent sealed storage than repeatedly spend time and electricity drying the same spool because it was left sitting exposed on a shelf.
Browse filament storage bags and desiccant
5. Digital Calipers Are One of the Most Useful Tools You Can Buy
If you only download decorative models, you may not need calipers immediately.
Once you start designing your own parts, measuring replacement parts or trying to make two printed objects fit together, digital calipers become indispensable.
You can measure:
- Screw and bolt diameters
- Hole sizes
- Existing parts you want to reproduce
- Clearances
- Wall thickness
- Filament diameter
- The dimensions of a failed print
A cheap pair is dramatically better than trying to design mechanical parts with a ruler.
You also do not need machinist-grade measuring equipment for ordinary 3D-printing projects. The NEIKO 01417A 6-inch digital caliper is an inexpensive plastic model that measures inside, outside and depth dimensions and switches between inches and millimeters. That is enough for most home 3D-printing work.
Check the NEIKO 01417A digital caliper on Amazon
6. Flush Cutters: Cheap and Constantly Useful
Many printers include cutters. If yours does not, buy a pair.
You will use them for trimming filament before feeding it, cutting supports and cleaning up small pieces of plastic.
They are inexpensive enough that I would keep a dedicated pair near the printer rather than constantly looking for the pair that migrated to another toolbox.
7. Get a Deburring Tool
This is one of those tools that looks unnecessary until you use one.
A small deburring tool can clean up holes, remove sharp edges and make functional prints look much more finished.
It is particularly handy for boxes, brackets, pass-through holes and other practical parts.
8. Keep the Build Plate Clean
A surprising number of first-layer problems are caused by the surface rather than the printer.
Finger oils, dust and old adhesive can interfere with bed adhesion.
Follow the recommendations for your particular build plate. Dish soap and water are useful for many removable plates, while isopropyl alcohol is convenient for routine cleaning on compatible surfaces.
Do not assume that one cleaning method or adhesive is correct for every plate and filament combination. Manufacturers use different surfaces, and some materials can stick too aggressively to particular plates.
9. An Extra Build Plate Is a Convenience I Would Buy Again
You can absolutely own a printer with one build plate.
A second plate is still useful.
You can remove a finished print and put another plate into the printer immediately rather than waiting for everything to cool. You can also keep different surface types available for different prints.
Build plates are also consumable items. They eventually get scratched, damaged or worn.
Just make sure the plate you buy is designed for your exact printer dimensions and sensor system. You may also want to consider a cool plate, allowing you to print at lower bed temperatures.
For this particular accessory, I would buy a plate explicitly made for your printer rather than shop by dimensions alone.
10. You Probably Don’t Need a Box of Nozzles on Day One
Most people should start with the 0.4 mm nozzle supplied with the printer.
It is a good general-purpose size.
Once you know what you print, other sizes become useful:
- 0.2 mm for very fine detail
- 0.4 mm for general printing
- 0.6 mm for faster larger prints and some filled materials
- 0.8 mm and larger for big parts where speed matters more than fine detail
The more important purchase may be a spare nozzle or spare hotend in the size you already use.
A clogged or damaged hotend can turn a working printer into a very expensive shelf ornament while you wait for parts.
Hardened Nozzles and Abrasive Filament
Carbon fiber, glass fiber, glow-in-the-dark and some other filled filaments are abrasive.
Do not feed abrasive material through a standard soft brass nozzle indefinitely and expect it to stay the same size. Use a nozzle intended for abrasive filament.
Some current printers already include hardened nozzles. Check before buying another one.
11. Buy a Few Printer-Specific Spare Parts
This is one area where my opinion has evolved.
After dealing with a worn Centauri Carbon cable while I was in the middle of installing CANVAS, I am more inclined to keep a few inexpensive machine-specific parts around than previously.
I am not suggesting buying another printer in pieces.
I already kept spare hotends and nozzles on hand, as well as more than one build plate. But having some other parts seems to make sense as I’m currently waiting on another replacement part from Elegoo.
- PTFE tubing if your printer uses it in replaceable sections
- Filament cutters used by multi-color systems
- Nozzle wipers
- Silicone socks
- Any inexpensive part known to wear regularly on your model
Before buying a printer, I would also check whether these parts are actually available.
That tells you something about what ownership may look like two years later.
12. Do You Need a Multi-Color System?
No.
Multi-color printing is fun. It is useful for signs, labels, decorative prints, board-game pieces and models where color changes would otherwise require painting or assembly.
It also adds complexity. Single-nozzle multi-color systems generally have to unload and reload filament during color changes, which can consume considerable extra filament as purge waste. Multi-nozzle and tool-changing designs can reduce that waste, but those systems still tend to cost more.
Filament-changing systems also add tubes, cutters, feeders and moving parts. If you know you want multi-color printing, buying the printer and color system as a bundle can make sense.
If you mainly want to make brackets, organizers and replacement parts, you may use it far less than you imagine.
13. What About Glue Sticks and Bed Adhesive?
Keep some available, but don’t assume every print needs glue.
Modern PEI build plates can provide excellent adhesion when they are clean and the printer is properly calibrated.
Depending on the filament and plate, glue can sometimes serve as a release layer rather than simply helping the print stick.
Use the recommendation for the combination of filament and build surface you are actually using.
Browse 3D printer bed adhesives
14. You Need Somewhere Solid to Put the Printer
High-speed printers move quickly.
Putting one on a wobbly folding table is a bad way to start.
You want a stable surface with enough room for:
- The printer itself
- The door or lid to open
- Rear-mounted spool holders
- Multi-color units
- Filament dryers
- Cable movement
- Maintenance access
Measure the printer’s real operating footprint rather than only its outside dimensions.
A 256 mm build volume does not mean the printer occupies a 256 mm square.
15. Think About Ventilation Before You Start Printing Every Material
PLA is where I would start.
If you move into ABS, ASA and engineering materials, think about where the printer is located and how you are handling emissions.
An enclosed printer is useful, but an enclosure does not automatically mean everything produced during printing disappears.
Follow the filament and printer manufacturer’s guidance, particularly if the printer is in a bedroom, office or other occupied space.
16. The Software Can Be Free
You do not need to buy expensive software to start 3D printing.
Your slicer turns a 3D model into instructions the printer can follow. Major printer ecosystems provide free slicing software, and there are mature third-party options as well.
For designing your own objects, you can also start with free tools before paying for professional CAD software.
I would spend money on filament and tools before paying for software simply because you assume 3D printing requires it.
My Suggested Starter Shopping List
If I were buying my first printer today, this is roughly how I would approach the shopping cart.
| Item | Buy Immediately? | Why |
|---|---|---|
| 3D printer | Yes | Rather important |
| 2-3 rolls of PLA/PETG | Yes | Enough variety to learn without hoarding filament |
| Flush cutters | Yes | Cheap and constantly useful |
| Build-plate cleaning supplies | Yes | Good first layers depend on a clean surface |
| Digital calipers | Yes, if you want to design parts | Essential for measuring real objects |
| Filament dryer | Soon | More useful as you add materials and open spools |
| Dry storage | Soon | Cheap way to protect filament |
| Deburring tool | Soon | Excellent for functional prints |
| Extra build plate | Optional | Convenient and eventually useful as a spare |
| Spare hotend/nozzle | Optional but sensible | Prevents downtime |
| Multi-color system | Only if you want it | Fun and useful, but adds cost, waste and complexity |
| Huge filament collection | No | You will discover what materials and colors you actually use |
How Much Should You Budget Beyond the Printer?
You can start cheaply.
If the printer already includes basic tools, another $50 or so can buy a couple of rolls of filament and fill the most obvious gaps.
A more comfortable setup with filament, calipers, cutters, storage and a single-spool dryer can easily add another $100 to $200.
A multi-color setup with several filaments, a large dryer, spare plates and printer-specific parts can go well beyond that.
I would build the accessory collection gradually.
The tools you buy after fifty prints tend to be far more useful than the tools you imagined you needed before the first one.
What I Would Buy First
For a new setup, I would put the money into the printer, a few good rolls of filament, basic hand tools and a way to keep filament dry.
Then start printing.
You will quickly discover whether your next purchase should be a filament dryer, a 0.6 mm hardened nozzle, another build plate, a multi-color system or simply another roll of black PLA because somehow you have used all of it again.
The printer is what gets you into 3D printing. The collection of small tools, spare parts and materials that grows around it is what turns it into something you can use whenever you need it.